The Ultimate Guide to Dolby Atmos for PC Download 2025
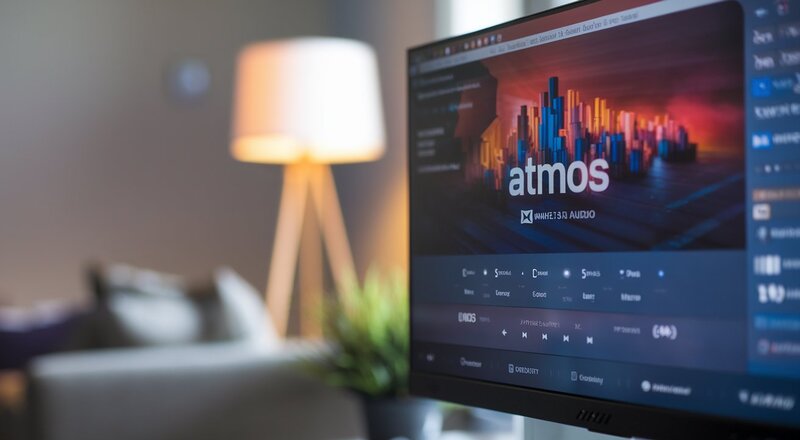
Are you ready to transform your PC audio experience into something extraordinary? Let’s dive into everything you need to know […]
Are you ready to transform your PC audio experience into something extraordinary? Let’s dive into everything you need to know […]

Bee Downloader App Are you searching for a reliable solution to download your favorite content? The Bee Downloader app has